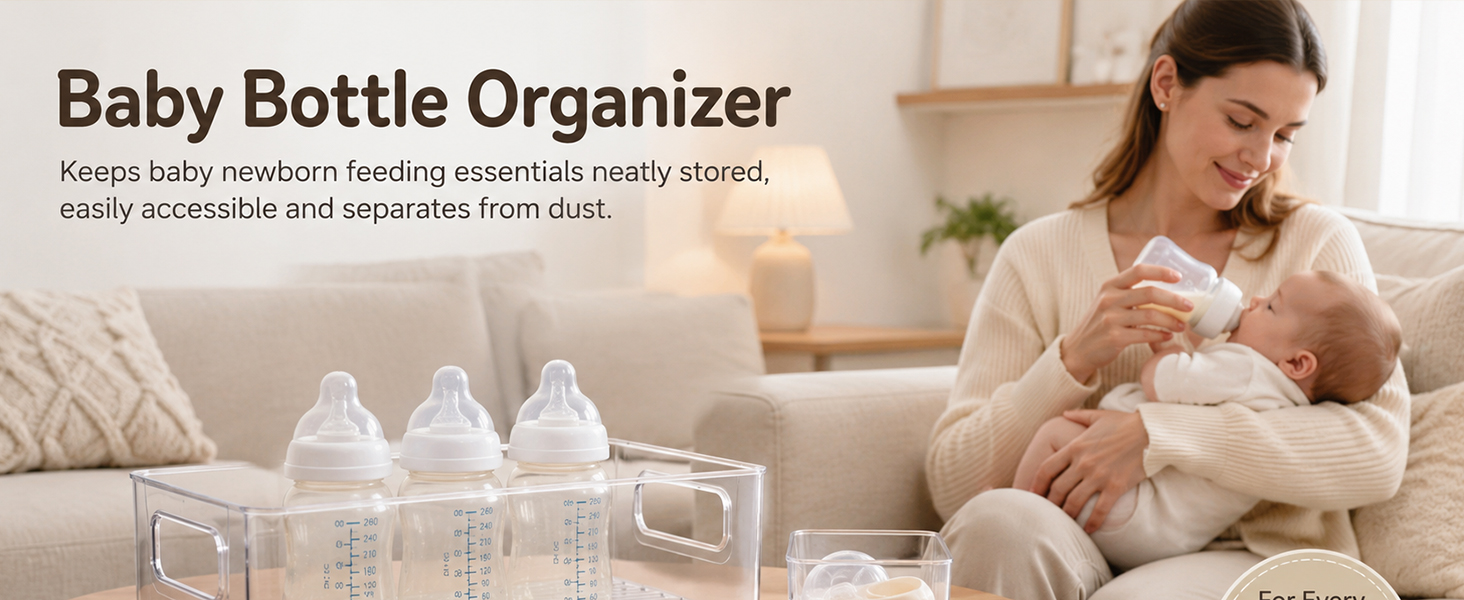
Baby Bottle Organizer and Storage: A Practical Guide to a Calmer, Cleaner Nursery
If you have ever opened a kitchen cabinet at 2 a.m. and found yourself digging through a pile of bottle parts, you already know why baby bottle storage deserves more attention than it usually gets. A good baby bottle organizer does more than keep nipples and caps from rolling onto the floor. It saves time, reduces clutter, protects hygiene, and makes feeding routines feel far less chaotic. Whether you are preparing for a newborn, building a registry, or trying to regain control of a crowded countertop, the right storage system can transform the way your nursery and kitchen function.
Why Baby Bottle Organization Matters
Feeding a baby involves a surprising number of small parts: bottles, rings, nipples, caps, valves, brushes, and sometimes pump accessories. When these items are scattered across drawers or stacked in a drying rack, they are easy to lose, hard to clean, and frustrating to assemble during a hungry baby’s meltdown. A dedicated organizer creates a single, predictable place for every component. That predictability matters more than aesthetics. It means you can reach for the right size bottle without thinking, spot a missing valve before sterilization, and keep clean parts separated from dirty ones.
Organization also supports hygiene. Bottle parts that tumble around in a drawer may pick up dust or come into contact with countertop residue. A covered organizer or a rack with divided compartments helps keep sterilized items protected. For caregivers, grandparents, or nighttime helpers, a well-labeled storage station also reduces confusion. Everyone knows where to find a clean bottle and where to put used parts until washing.
Types of Baby Bottle Organizers
There is no universal organizer because every family’s space and feeding style are different. The main options fall into a few practical categories:
- Countertop drying racks with storage compartments: These combine drying and organization. They are ideal for families who wash bottles frequently and want everything visible and ventilated.
- Drawer inserts and dividers: Perfect for keeping nipples, caps, and valves sorted inside a kitchen drawer. Look for adjustable dividers and easy-to-clean materials.
- Cabinet organizers with removable bins: These allow you to group bottles by size or brand and lift out a bin when needed. They work well in deep cabinets where small parts tend to disappear.
- Vertical bottle racks: Compact and space-saving, these hold assembled bottles upright and are useful for small kitchens or shared counters.
- Travel and diaper-bag organizers: Smaller cases keep a clean bottle, nipple, and cap together on the go. They are not for long-term storage but are excellent for outings.
How to Choose the Right Storage System
Before buying an organizer, count what you actually use. If you have eight bottles but only three are in rotation, you may need less storage than you think. Consider the shape of your bottles—wide-neck and narrow-neck bottles require different spacing—and whether you use glass, plastic, or silicone. Glass bottles are heavier, so flimsy racks may tip. Silicone parts can attract lint, so covered storage is often better.
Next, think about your routine. Do you wash bottles every evening, or do you sterilize a large batch twice a week? Frequent washers benefit from open drying racks with divided sections. Batch sterilizers may prefer closed bins that keep clean parts dust-free. Also measure your space honestly. A tall vertical rack may fit a narrow counter, while a drawer insert may be the only option in a small apartment. Finally, check for ease of cleaning. Organizers with removable trays, smooth surfaces, and no tiny crevices are much easier to maintain.
Practical rule: Store bottles where you assemble them, not where you wash them. The best system is the one that sits directly between the drying area and the feeding station.
Simple Steps to Set Up a Bottle Station
- Clear and clean the surface. Wipe down the counter or cabinet shelf and remove expired or unused bottle parts.
- Sort by stage and size. Keep newborn nipples and small bottles separate from larger sizes. Use labeled bins if multiple caregivers share the routine.
- Separate clean from dirty. Designate one bin or rack for sterilized parts and a small basin for used bottles waiting to be washed.
- Keep assembly tools close. A bottle brush, valve puller, and spare nipples should live within arm’s reach of the organizer.
- Review monthly. Remove outgrown nipples, cracked caps, and bottles your baby no longer uses. Empty space makes the system easier to maintain.
Maintenance and Hygiene Tips
Even the best organizer needs regular cleaning. Wipe bins weekly, and wash removable compartments with warm soapy water. Allow all parts to dry completely before refilling, because trapped moisture can encourage mold. Avoid overcrowding; when bottles are packed too tightly, air cannot circulate and parts may stay damp. If your organizer sits on an open counter, consider a cover or a location away from cooking splatter. And remember that storage is not sterilization. Clean parts should still be washed and sterilized according to your pediatrician’s guidance and the bottle manufacturer’s instructions.
Final Thoughts
A baby bottle organizer is a small investment with a surprisingly large payoff. It turns a scattered collection of parts into a calm, repeatable feeding station, giving you more time to focus on your baby and less time searching for a missing nipple. Start with one simple system, adjust it as your baby grows, and let the organizer do the quiet work of keeping your nursery and kitchen a little more peaceful.